How to install Tailwind CSS in Next.js
Posted by Kosal
Tailwind is a popular utility first CSS framework for rapidly building custom User Interfaces. It works by scanning all of your HTML files, JavaScript components, and any other templates for class names, generating the corresponding styles and then writing them to a static CSS file. You can learn more about Tailwind CSS here.
Next.js is a flexible React framework that gives you building blocks to create fast web applications. Next.js allow the web page to be rendered on the server, which is great for performance and SEO. You can learn more about Next.js here.
Step 1: Create your project
Start by creating a new Next.js project if you don’t have one set up already. You can create a new Next application using the command below.
npx create-next-app my-project
cd my-project
Step 2: Install Tailwind CSS
After your next project is created, Install tailwindcss and its peer dependencies via npm
npm install -D tailwindcss postcss autoprefixer
Step 3: Install Tailwind CSS
Then run the init command to generate postcss.config.js and tailwind.config.js.
npx tailwindcss init -p
The above command will create two configuration files in your project.
// tailwind.config.js
/** @type {import('tailwindcss').Config} */
module.exports = {
  content: [],
  theme: {
    extend: {},
  },
  plugins: [],
}
// postcss.config.js
module.exports = {
  plugins: {
    tailwindcss: {},
    autoprefixer: {},
  },
}
Step 4: Configure your template paths
Add the paths to all of your template files in your tailwind.config.js file. So, in your tailwind.config.js file, add the following configuration.
// tailwind.config.js
/** @type {import('tailwindcss').Config} */
module.exports = {
  content: [
    "./pages/**/*.{js,ts,jsx,tsx}",
    "./components/**/*.{js,ts,jsx,tsx}",
  ],
  theme: {
    extend: {},
  },
  plugins: [],
}
Step 5: Add Tailwind directives to your global CSS
In your ./styles/globals.css file, add the directives of tailwind CSS.
@tailwind base;
@tailwind components;
@tailwind utilities;
Step 6: Testing Tailwind in your project
To verify that everything will work as expected, replace all of the default code in pages/index.js with the following:
export default function Home() {
  return (
    <div class="flex justify-center">
      <div class="rounded-lg shadow-lg bg-white max-w-sm">
        <a href="#!" data-mdb-ripple="true" data-mdb-ripple-color="light">
          <img class="rounded-t-lg" src="https://mdbootstrap.com/img/new/standard/nature/182.jpg" alt="" />
        </a>
        <div class="p-6">
          <h5 class="text-gray-900 text-xl font-medium mb-2">Card title</h5>
          <p class="text-gray-700 text-base mb-4">
            Some quick example text to build on the card title and make up the bulk of the card's
            content.
          </p>
          <button type="button" class=" inline-block px-6 py-2.5 bg-blue-600 text-white font-medium text-xs leading-tight uppercase rounded shadow-md hover:bg-blue-700 hover:shadow-lg focus:bg-blue-700 focus:shadow-lg focus:outline-none focus:ring-0 active:bg-blue-800 active:shadow-lg transition duration-150 ease-in-out">Button</button>
        </div>
      </div>
    </div>
  )
}
Final step: Start your project up and running
npm run dev
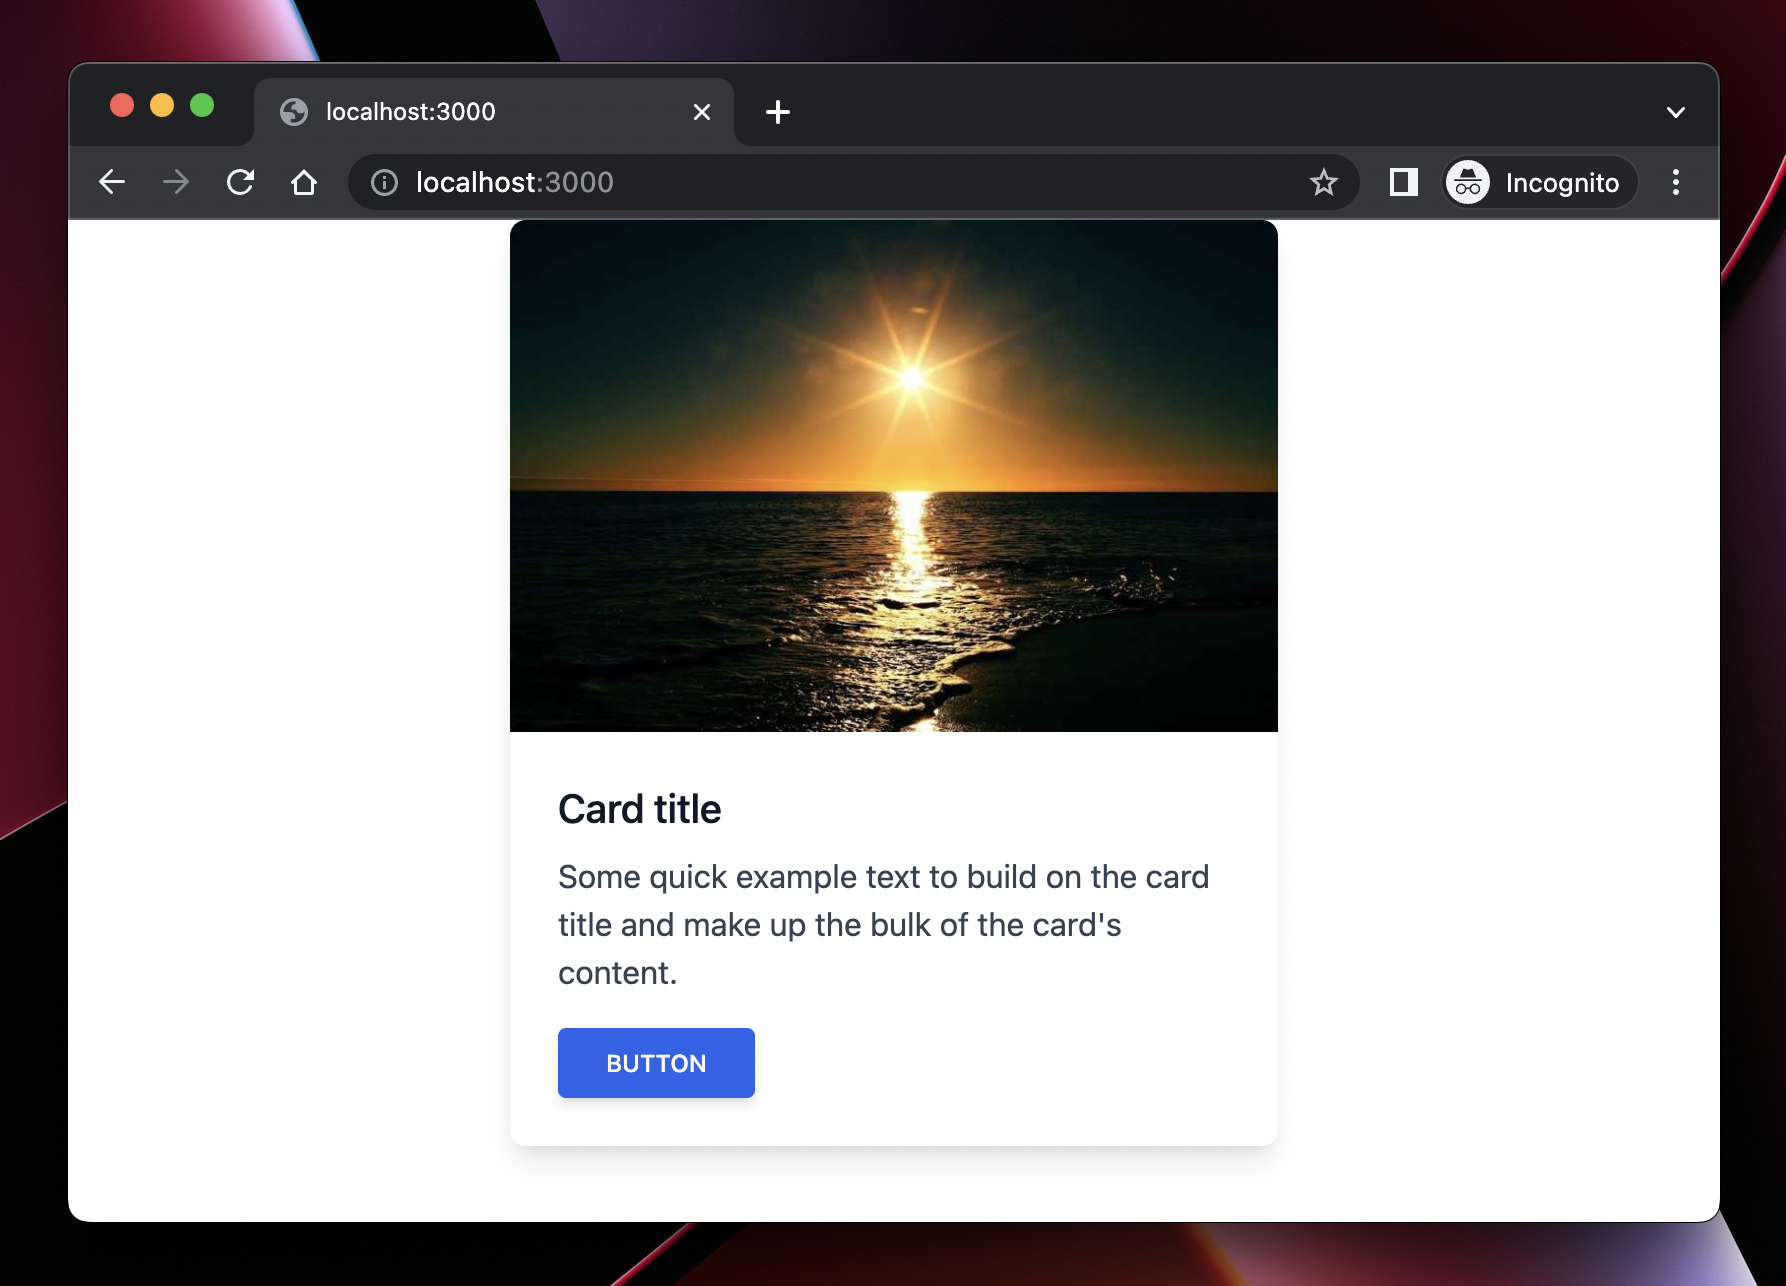
Go to http://localhost:3000, you should get a result as below:
I hope you got something from this article that will help you in your journey. Thanks for reading!!!