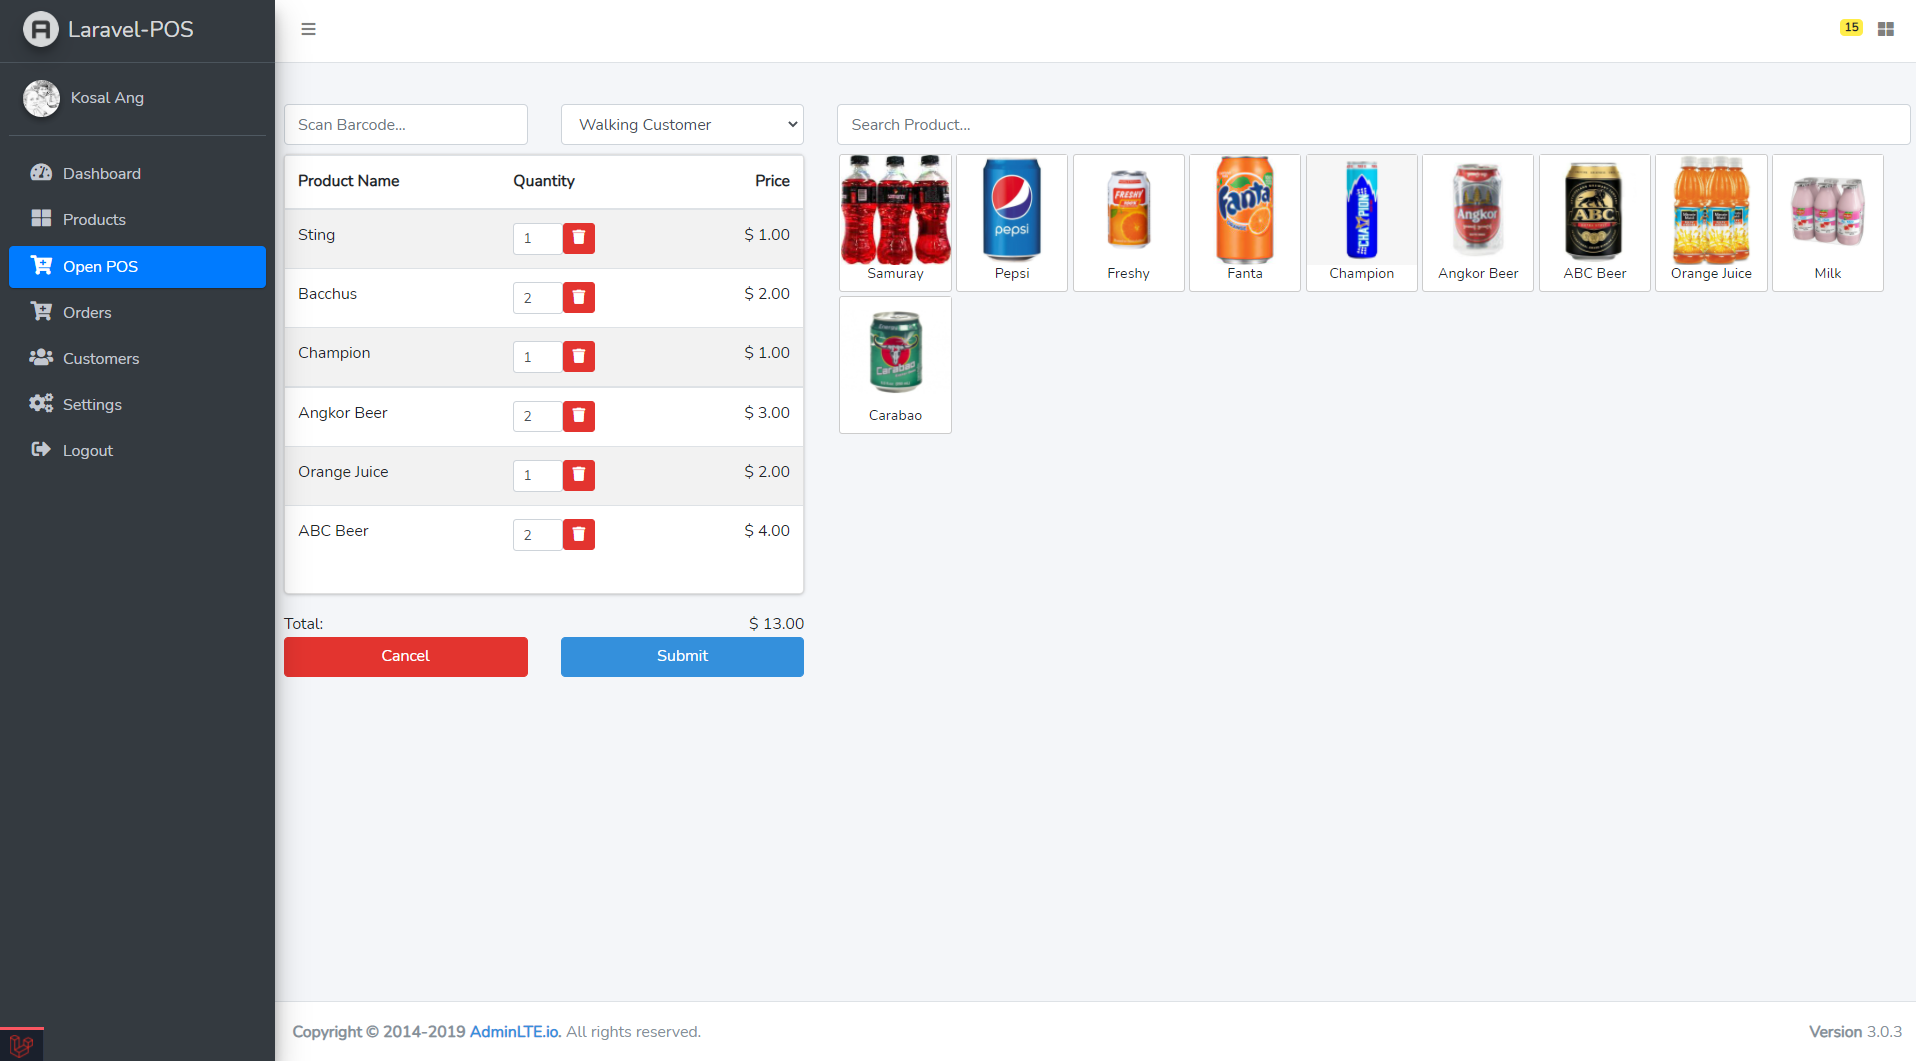
How to Install and Run a POS System Built with Laravel
Posted by Kosal
If you’re looking for a ready-to-use Point of Sale (POS) system built with Laravel, you’re in the right place.
This project was developed during the video tutorial “Create POS System Using Laravel” and is perfect for developers who want to learn Laravel by building a real-world application or use it as a starting point for their own POS software.
Project Created By
Orng Sorl (Kosal) – Software Engineer skilled in Laravel, TypeScript, and Flutter, building web and mobile applications with clean, efficient code.
Features of This Laravel POS System
- Built using the latest Laravel framework.
- Ready-to-use admin panel.
- User authentication with default admin credentials.
- Database seeding for quick setup.
Prerequisites
Before you start, make sure you have the following installed:
- PHP (version that meets Laravel requirements)
- Composer
- Node.js and npm
- A database system such as MySQL or MariaDB
Step 1: Clone the Repository
Open your terminal and run:
git clone https://github.com/angkosal/laravel-pos.git [YourDirectoryName]
Replace [YourDirectoryName] with your preferred folder name.
Step 2: Install PHP Dependencies
Navigate into your project folder and install the required Laravel packages using Composer:
cd YourDirectoryName
composer install
Step 3: Configure the Environment
- Duplicate
.env.exampleand rename it to.env. - Generate a new Laravel application key:
php artisan key:generate
- Open the
.envfile and:- Set your database connection details (
DB_DATABASE,DB_USERNAME,DB_PASSWORD). - Update
APP_URLto match your environment (e.g.,http://localhost:8000).
- Set your database connection details (
Step 4: Set Up the Database
Run the following commands to create the necessary tables and seed the database with default settings:
php artisan migrate
php artisan db:seed
Default Admin Login:
- Email:
admin@gmail.com - Password:
admin123
Step 5: Install Frontend Dependencies
This project uses Laravel Mix for asset compilation. Install Node.js dependencies by running:
npm install
For development:
npm run dev
For production:
npm run build
Step 6: Link Storage
Run the following command to make storage accessible publicly:
php artisan storage:link
Step 7: Start the Laravel Development Server
php artisan serve
Now open your browser and visit:
http://127.0.0.1:8000
Log in using the default admin credentials to start exploring your POS system.
Conclusion
That’s it! 🎉 You’ve successfully installed and run your Laravel-based POS system.
This setup gives you a solid foundation to learn Laravel while having a functional POS solution you can customize for your business.
If you want to watch the full development process, check out the "Create POS System Using Laravel" video tutorial for more in-depth explanations.