Creating a Custom Login Form with CustomTkinter
Posted by Kosal
In the realm of Python GUI development, Tkinter stands out as one of the most popular and versatile libraries. Its simplicity and ease of use make it an ideal choice for building graphical user interfaces for various applications. However, Tkinter's default styling options might sometimes fall short when it comes to creating visually appealing and modern-looking interfaces. To address this, developers often turn to custom libraries like CustomTkinter, which extends Tkinter's capabilities with additional features and styling options.
Overview of CustomTkinter: CustomTkinter is a custom extension of Tkinter that enhances its functionality and provides developers with more flexibility in designing GUI applications. It offers a wide range of custom widgets, styling options, and layout management tools, allowing developers to create aesthetically pleasing and feature-rich user interfaces.
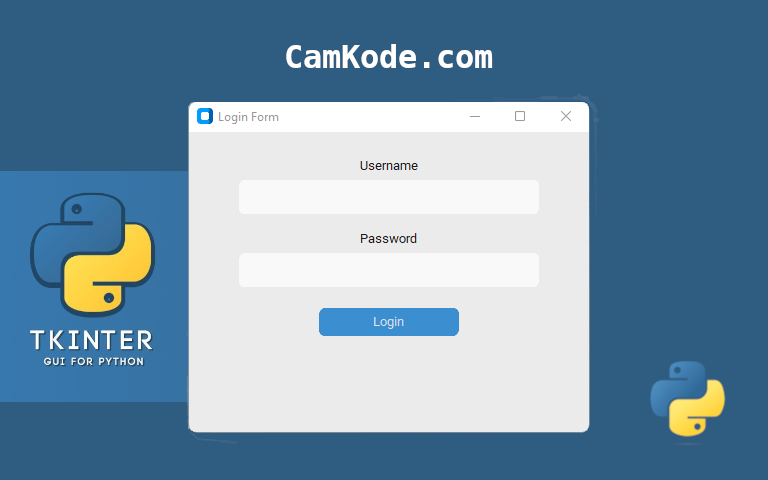
Creating a Login Form with CustomTkinter: Let's dive into creating a simple login form using CustomTkinter. We'll walk through the steps of setting up the form, adding widgets, and customizing their appearance.
Step 1: Importing CustomTkinter: To get started, we need to import the CustomTkinter library into our Python script:
import customtkinter as ctk
Step 2: Creating the Main Application Window:
We'll create the main application window using the CTk() class from CustomTkinter:
app = ctk.CTk()
app.title("Custom Login Form")
Step 3: Setting Window Geometry: We'll define the width and height of the window and position it at the center of the screen:
window_width = 400
window_height = 300
app.geometry(f"{window_width}x{window_height}+{x_coordinate}+{y_coordinate}")
Step 4: Adding Widgets: We'll add labels, text entry fields, and a login button to the form:
label_username = ctk.CTkLabel(master=app, text="Username")
input_username = ctk.CTkTextbox(master=app, width=300, height=35)
label_password = ctk.CTkLabel(master=app, text="Password")
input_password = ctk.CTkTextbox(master=app, width=300, height=35)
button_login = ctk.CTkButton(master=app, text="Login", command=button_callback)
Step 5: Layout Management:
We'll use the pack() method to organize the widgets within the window:
label_username.pack(pady=(20,0), padx=10)
input_username.pack(pady=(0, 10), padx=10)
label_password.pack(pady=0, padx=10)
input_password.pack(pady=(0,10), padx=10)
button_login.pack(pady=10, padx=10)
Step 6: Handling Button Clicks: We'll define a callback function to handle login button clicks:
def button_callback():
    # Logic to handle login
Step 7: Running the Application: Finally, we'll start the main event loop to run the application:
app.mainloop()
Conclusion: In this article, we've explored how to create a custom login form using CustomTkinter, a powerful extension of Tkinter. By leveraging CustomTkinter's features and styling options, developers can design attractive and user-friendly GUI applications with ease. CustomTkinter opens up new possibilities for GUI development in Python, empowering developers to build modern and engaging interfaces for their applications.
CustomTkinter serves as a testament to the vibrant ecosystem of Python GUI libraries, offering developers the tools they need to bring their creative visions to life in the world of graphical user interfaces. With its intuitive API and extensive documentation, CustomTkinter is a valuable asset for any Python developer seeking to create polished and professional-looking applications.
References:
- CustomTkinter Documentation: https://customtkinter.tomschimansky.com/documentation/
- Tkinter Documentation: https://docs.python.org/3/library/tk.html